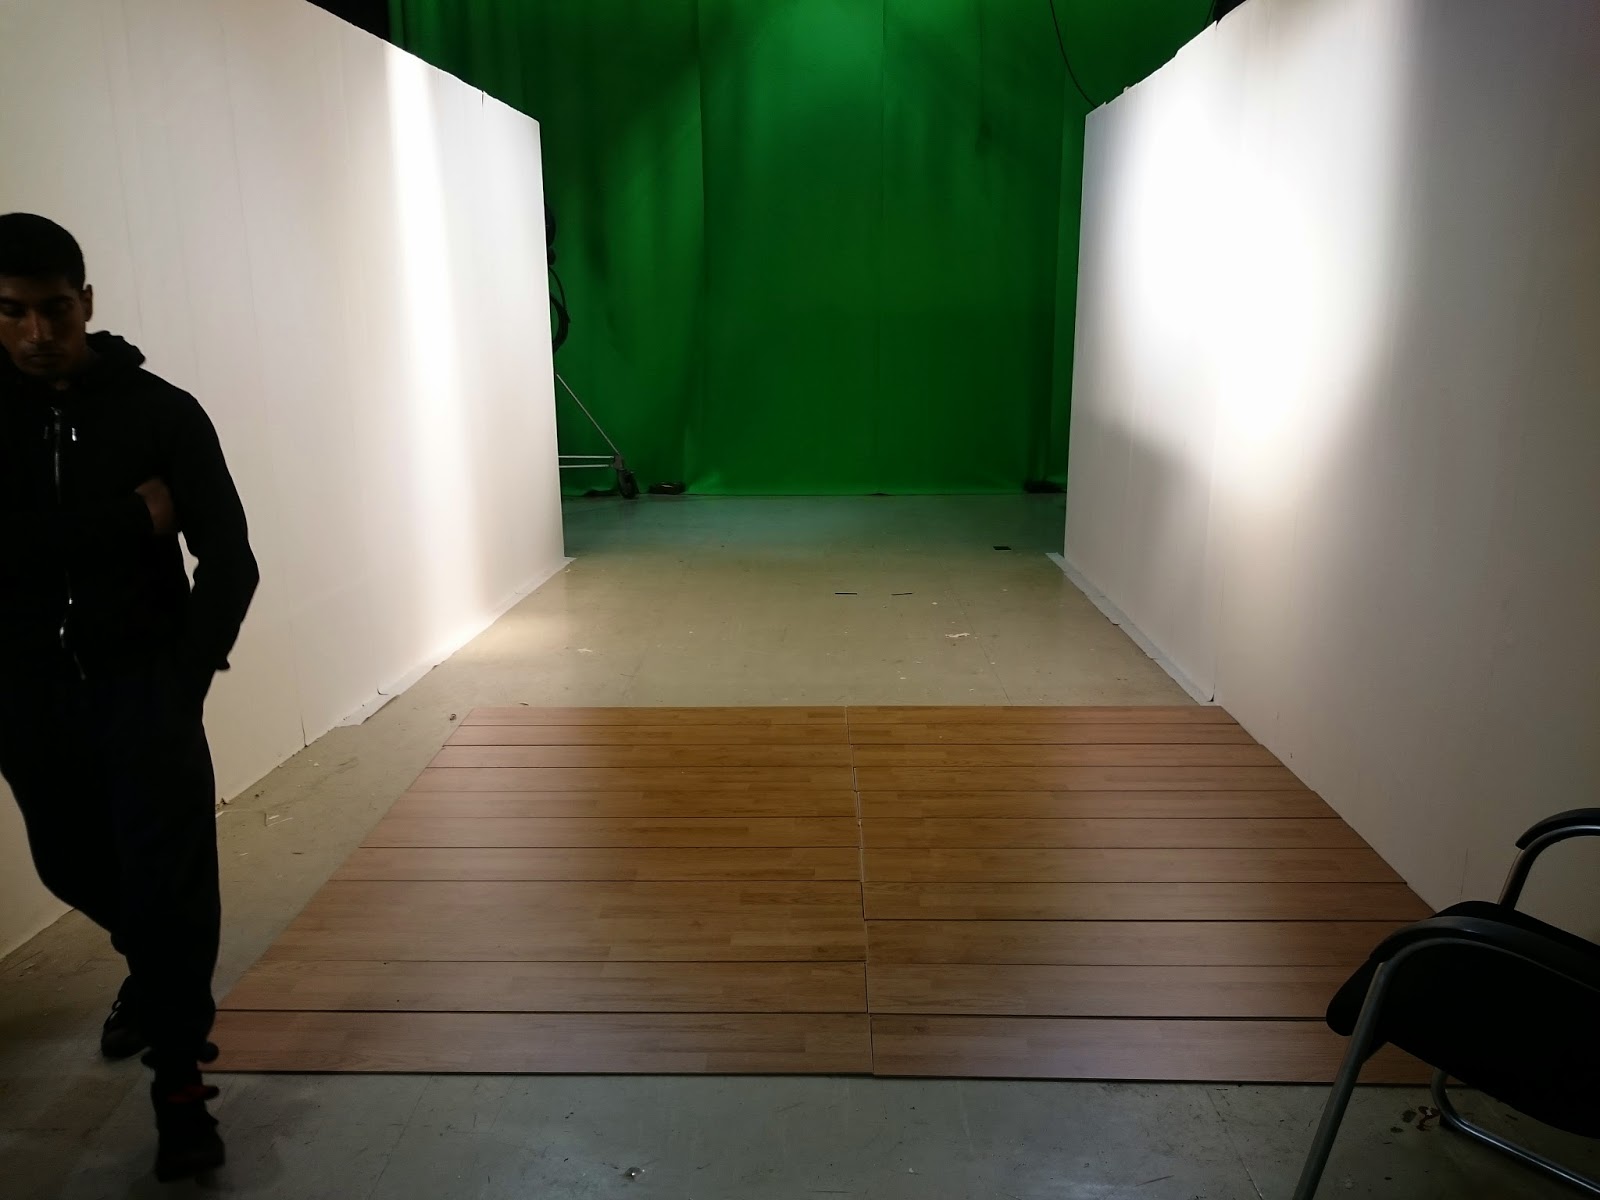
As you can see from the picture above, we now had to put the flooring in. We decided to go for a laminate flooring as it looks much better than lino and we could fit it together and take it apart easily. However, having never bought flooring before, I misjudged the amount we would need. I measured out my set in meters and when we looked at the packaging it described an area of square meters. However I mistook that for meters squared, which are very different things. So, we lost money because we had to purchase more flooring than we thought we needed. However we were using the cheapest flooring we could find and so the look we got in the end was very good, despite the cost.

As one of our walls was at an angle to make it easier to extend the corridor in post-production, we had to use some of the last boards to cut them to size.

However it worked really well, and with our prop positioning we could cover up and slightly obvious problems with the flooring. Most of which was at the front of the set, and since we would not be seeing the floor at that part of the set it didn't matter so much.
Whilst this was going on, we had to go and find plinths to complete our gallery look. We knew there were some dotted around the campus, so we went to find some. We managed to get some help from one of the technicians, who took us out to a large bin full of ones of all sizes.

The final thing to do was to print our 'artwork' to go on the walls of the gallery. I did this just using foam board to mount and printing on standard paper as we were not going to be doing so many close-ups it didn't have to look perfect.

Once this was done, the director and cinematographer went about lighting the set so that we would be ready to go on Monday straight away, and prevent any unnecessary time wasting. Once this was done our set was complete, and all the work over the last week was finally realised.

No comments:
Post a Comment