Showing posts with label Studio Shoot. Show all posts

Thursday, 27 November 2014

Professional Toolkit- Filming and Working with Actors.

Our filming day had finally come, and on the first of our two day shoot we were not working with our actor, so most of the day was spent getting any shots or cutaways that did not require the actor. We also lit the master shot for when the actor arrived the next day, so that we could have that ready to go when we got the actor in the next day. We wanted to have as much time with the actor performing as possible so that we could get the most out of him.

I spent most of this day being the stand-in for the actor while the others lit the scene and took some more test shots for the green screen.

On the second day, our actor arrived early as he would rather have been early than late so we set up very quickly and got the actor briefed and with refreshments while we tried to set up the first shot as quickly as possible. Our actor in general was lovely and offered to help on set multiple times. He was also very easy going and didn't need a lot of direction to get what we wanted which was great and very lucky for us. During lunch I spoke to him a little bit about what he does mostly and he described how he had mixed experience of theater and TV. He had done some issue based work before concerning drugs etc. and so I found it very interesting that he was enthusiastic about our project based on his previous work.

On the shoot, I started doing script supervision on the second day and kept timing. Since we started early we were ahead of schedule by about half an hour, so I had to make calls about when we had lunch and which shots we should get done before and after the break. Since we had a subway platter delivered at around 12 I had to make the call to have lunch then rather than at 1. I also took timings of each shot and notes throughout as a script supervisor would to try and highlight any potential continuity problems or give the editor an idea of which takes of the shots appeared to work the best with director's comments and anything I noticed about the shots myself.

Overall it was a very relaxed shooting experience. It was exciting as I felt very professional and we worked very efficiently. The most exciting part of it was seeing all the dollies being used and how the takes ran with the director giving ques and watching from a monitor.


Professional Toolkit- Finishing Set Build (Flooring and Finishing Touches)

Last Friday we had our last push to finish building the set before our shoot beginning on Monday morning. With our walls now fitted with wallpaper and painted over, the set was beginning to look so much more like the gallery space we were going for.


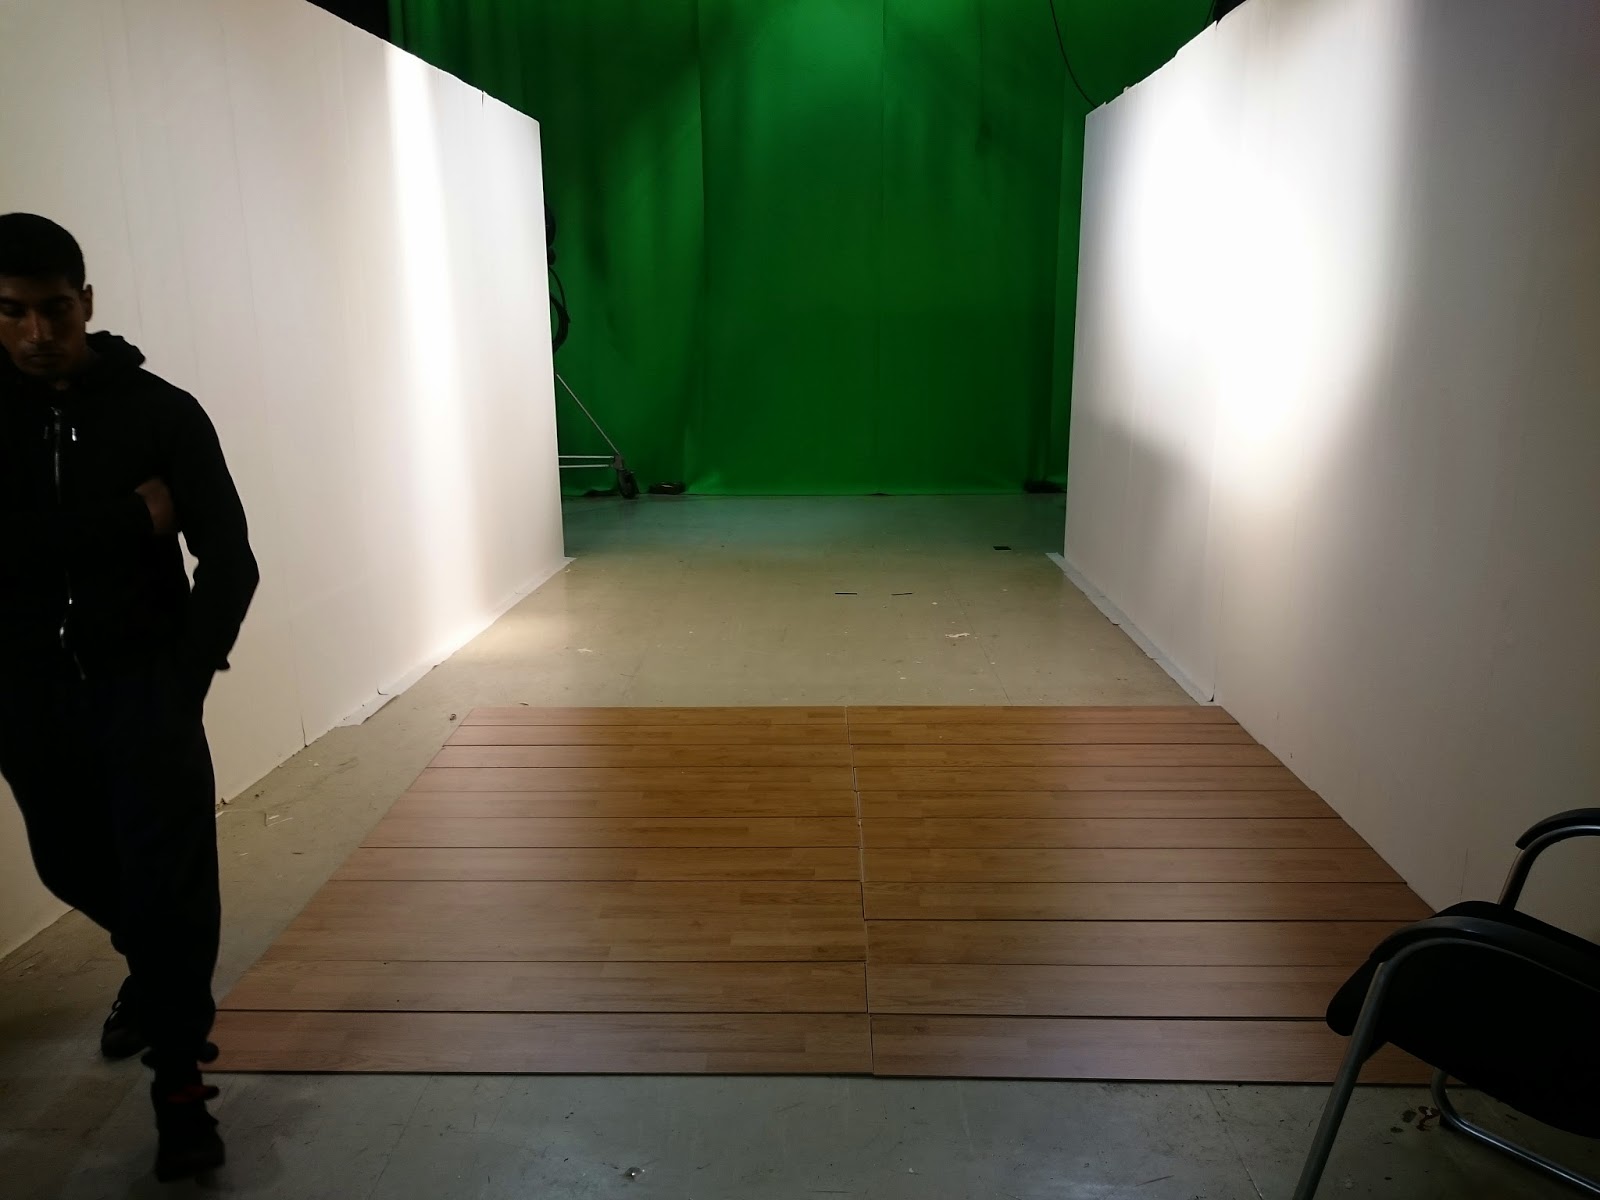
As you can see from the picture above, we now had to put the flooring in. We decided to go for a laminate flooring as it looks much better than lino and we could fit it together and take it apart easily. However, having never bought flooring before, I misjudged the amount we would need. I measured out my set in meters and when we looked at the packaging it described an area of square meters. However I mistook that for meters squared, which are very different things. So, we lost money because we had to purchase more flooring than we thought we needed. However we were using the cheapest flooring we could find and so the look we got in the end was very good, despite the cost.


As one of our walls was at an angle to make it easier to extend the corridor in post-production, we had to use some of the last boards to cut them to size.


However it worked really well, and with our prop positioning we could cover up and slightly obvious problems with the flooring. Most of which was at the front of the set, and since we would not be seeing the floor at that part of the set it didn't matter so much.

Whilst this was going on, we had to go and find plinths to complete our gallery look. We knew there were some dotted around the campus, so we went to find some. We managed to get some help from one of the technicians, who took us out to a large bin full of ones of all sizes. 


The final thing to do was to print our 'artwork' to go on the walls of the gallery. I did this just using foam board to mount and printing on standard paper as we were not going to be doing so many close-ups it didn't have to look perfect.


Once this was done, the director and cinematographer went about lighting the set so that we would be ready to go on Monday straight away, and prevent any unnecessary time wasting. Once this was done our set was complete, and all the work over the last week was finally realised.


Monday, 17 November 2014

Studio Shoot-Set Building and Gathering Materials.

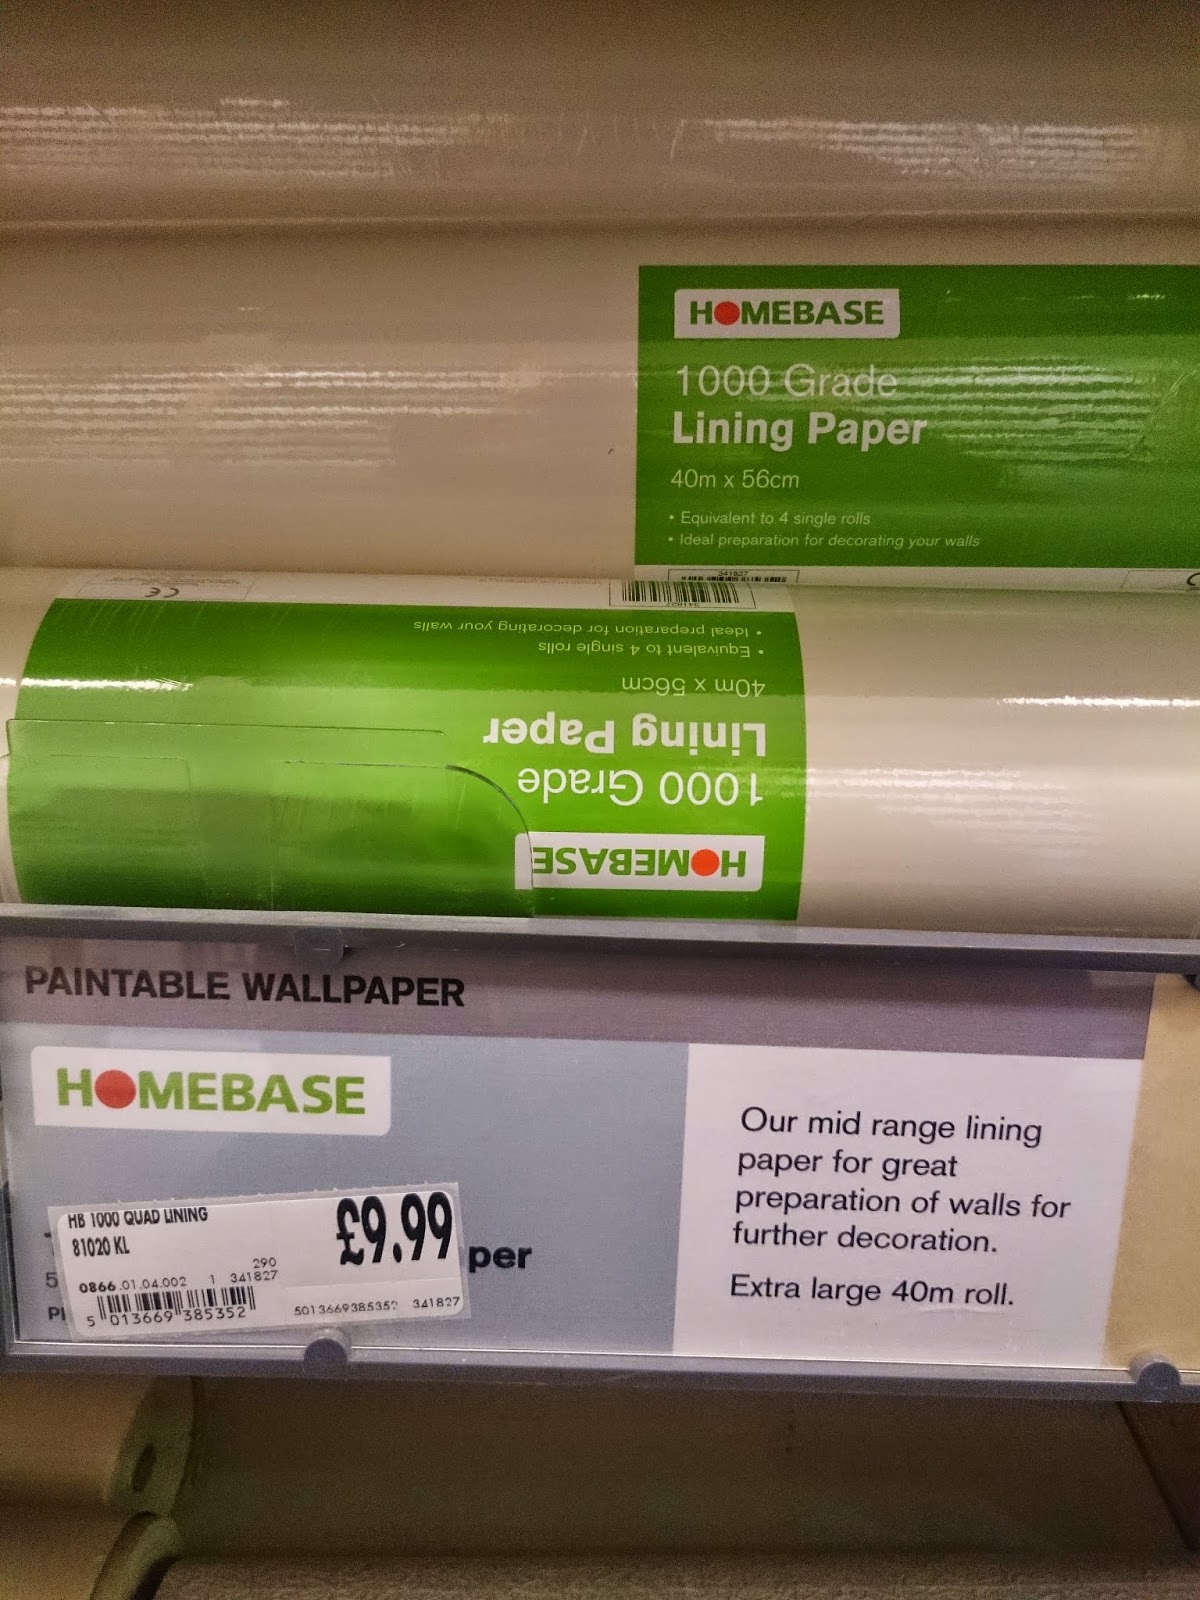
After beginning to build our set, I had a much clearer idea of what we needed and how much we needed for our set build. So, I went down to the local Homebase to get an idea of pricing and styles.


 Unfortunately, when I went to collect some materials for the shoot with Rosie, the flooring I wanted was not available, so I will have to go again this week to get that as our final set build equipment required.

I also now have a good idea of props. We need:

-2-3 white plinths
-TV screen/Computer monitor
-Prints of phones (A3)
-Picture Frames
-Old phones

The job this week is to go and book those plinths out from stores for our shoot, and then to get the posters designed and printed for our shoot. Also, I have 2 old phones that can be of use for our shoot and so that takes care of our biggest issue prop-wise.


The rest of the day on Friday was spent scraping the wallpaper off of the flats that were left there by other projects, and then in the last part of the day we got to wallpapering a small portion of the set ready for painting next week.


Professional Toolkit- Directing Actors Workshop

We have just reached the end of our directing actors workshop, a two day workshop that taught us how to efficiently direct actors on set, and helped us understand how to cast actors as well. This workshop was incredibly useful and dynamic and allowed me to think differently about the collaboration of actors and directors.

During the first day we covered:

-Framing/Shot Types
-Directing/Acting Language
-Actions
-Casting

On the second day we covered:

-Breaking down a scene into actions/activities
-Status changes throughout a scene
-Giving direction to actors
-Collaborating with actors on set.

Day 1- On the first day we were introduced to one of the actors we would be working with over the next couple of days. Nigel went through the idea of language and sharing a common vocabulary with actors. He went through what he considers to be each shot type (Close-Up etc) as these can vary from director to director. Then he went through some vocabulary that film actors and stage actors use and showed how that can be confusing, and you may end up with a miscommunication problem, so it's key to go through some things with your actor first to allow you to share some common ground on set; making the flow of the production more efficient from the start.

We also went through the concept of 'actions' in acting and directing. Nigel described how some actions you give an actor may or may not be 'playable'. Playable actions consist of verbs, or something which can be described using one word. E.g. Challenge, Dazzle etc. are playable actions. It appears that the communication you have with an actor has to be concise as your rehearsal time may be minimal or nonexistent depending on what you're shooting, and if this is the case then you need to be able to communicate exactly what you want from an actor in a short space of time; Choosing your words carefully could mean the difference between a great take or not, as we saw in the examples Nigel gave of 'Heat' and 'LA Takedown'.

Finally, Nigel went through casting with us. He said that casting gave us a chance as a director to see if you can direct the actors and whether there are any problems with the script that the actor may have picked up on, if you asked them what they thought of it. Time is money in this situation, and so you have to be welcoming with an actor, but not ask them open ended questions that may lead to time wasting. The next thing you need to do is ask them to read or act out (if a non-speaking role) a pre-agreed piece, and then after they have finished you can give them a note (a piece of direction) to see how they react to your direction and see if you have a common language.

Day 2- On the second day we were introduced to the other actor we would be working with, and were asked to read through a script the day before. Nigel started by getting us to do some acting exercises. The second one we did was interesting because it showed us how acting as if we are in a situation is different to actually being in that situation. He wanted to highlight how acting is fairly close to what you do in real life, but not quite. The actor has to play the actions according to the shot e.g. exaggerating facial movements in a close-up. He showed us through the actors and the scene we were asked to read, how giving different direction and using different words to describe an action can completely change a scene.

The other main thing we looked at was power in a scene, between characters. This is called 'Status' and in a scene you should be able to see the status fluctuate between characters as a scene progresses. The actors showed us how you see status change between characters in the scene we were previously working on. By assigning someone a number from 1-10, you can easily communicate where the power shifts need to happen, and who has more status than whom. This can provide the actor with more information on how to play the scene, and make the scene a lot better.

Over the two days, I learnt some really valuable things about direction, from a practical point of view which really made it clear to me how working with an actor needs to be approached. I am confident that if I used the tips in this workshop then I will be able to create an efficient relationship between the actor and director.

Wednesday, 12 November 2014

Professional Toolkit- First Set Building and Grip/Green Screen Workshop.

Last Friday, we all got together with Anne to discuss our studio shoots and to start looking at the equipment in the studio, including gripping and green screen. However Chris Pinnock suggested that we start building our sets so we can see what they look like and so it saves us time later.


As the production designer, this was a golden opportunity for me to physically see the space I will be working with, and it would really help me get a better idea of what I have to do to the space to make it realistic for the scene we will be shooting.

The first thing we did was put up the flats and bolt them together. We decided to have one of the walls at an angle to make the room appear longer than it is, which would help the set extension later on. Also, the set is quite narrow to make it more like a corridor so we'll have to shape the prop placement around that. 

Also, once the set was lit I got an idea of where the wall props needed to be placed and how big they could be. Also, with the set length I now know how many plinths I need to gather/make.


The main realisation I had about the set was that the walls needed to be really scraped down and the gaps filled before we put any lining paper down. Also, the lining paper needs to be left to dry for nearly a day before we paint it to make sure it is done properly. So the first thing we should do is take care of the walls and line them before doing anything else to the set, so that we can be getting on with other tasks while the walls dry.


Looking at gripping was also interesting as the movements on the dolly were very smooth, and even more interesting was that the dolly we were using was previously owned by Stanley Kubrick!

What I need to do now is get a list of materials together so Rosie can start ordering our materials and we can get ahead on our set build.


Monday, 27 October 2014

Professional Toolkit- Set Design

After our fourth group meeting, we have finally come up with some sort of solid idea of what the set should look like, and as production designer it is my job to create this set and make it a possibility. Here are my notes from the meeting:

-Green screen on back wall
-Off-white walls
-Phones on display
-Pillars for displaying phones
-Pictures of phones on walls
-Grey flooring (to make it easier for set extension)

With these notes I can now go ahead and make some set plans and drawings:


The first is an overhead plan of the set, to show roughly where things are going to go and to get a sense of the space we will have, and the proportions of the room according to the measurements we have.


The second is a perspective of the set from the eye of the camera. This is to try and see how the set will look from the camera's perspective and gives a little more detail about where things are going to go. From this, the rest of the team can get more of an idea of what we are going for when we plan shots and when we come to build the set. 

The next thing I have to do is try and decide on the colours and materials for the room. From the notes I have said to use an off-white on the walls and to have a grey floor to make it easier for the set extension we will do. However I also need to think about what type of flooring we will use. For example, carpet I probably wouldn't find appropriate for our film so I need to consider what else we could use. Another thing which comes into it is availability; how available a certain material is and how much it might cost.